


IN THIS ARTICLE
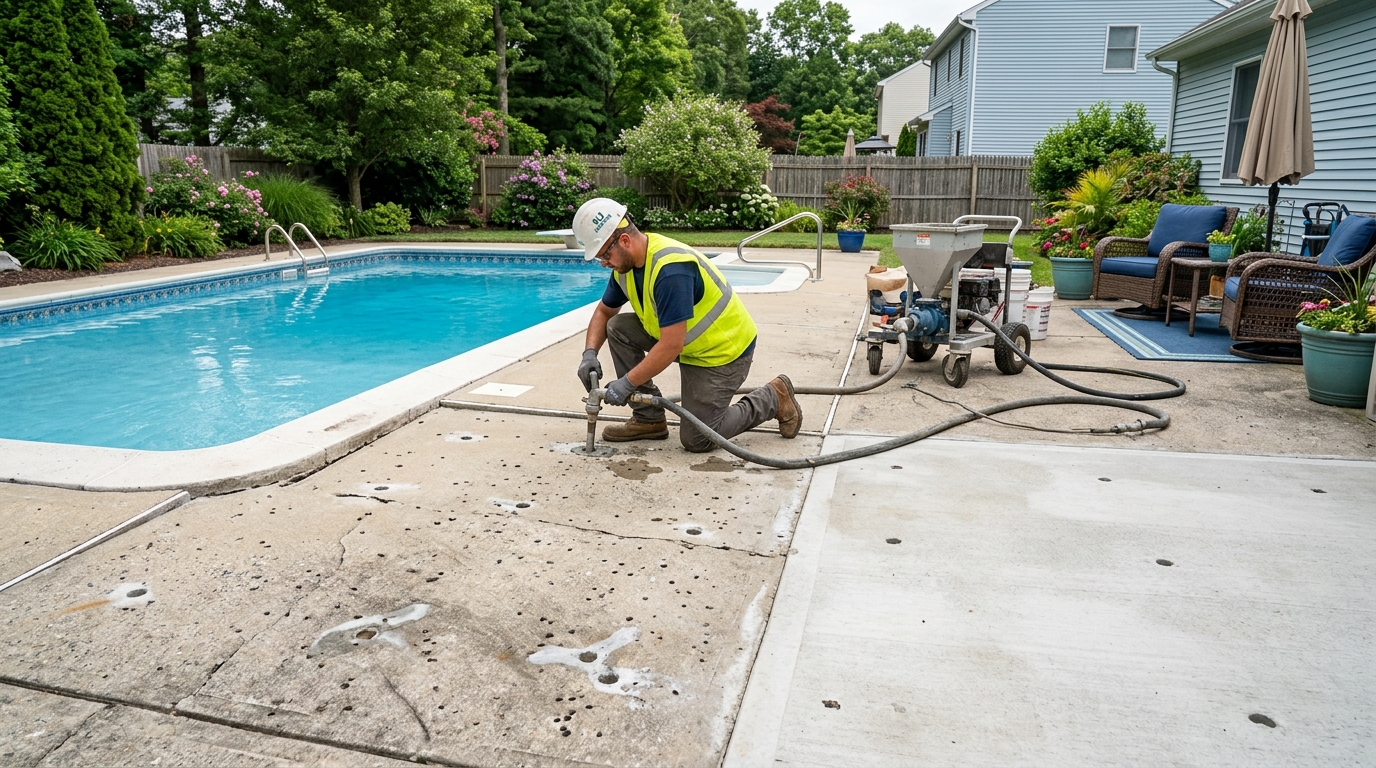
Learn How to Fix Settled Pavers on Pool Decks and Sidewalks with Professional Services
Unstable pool pavers can pose safety risks and diminish the aesthetic appeal of your outdoor space. Opting for professional services not only guarantees the restoration of your pool deck’s beauty but also ensures long-lasting solutions.
Professionals use specialized tools and materials to resolve these issues efficiently. They identify and address underlying problems that might be causing the pavers to sink, such as poor drainage or insufficient base material. By assessing your specific situation, they tailor techniques to suit your needs.
P.S: We specialize in raising and leveling concrete (mudjacking) for driveways, walkways, pool decks, concrete floors, and warehouse floors, restoring stability in New Jersey and Pennsylvania cities. We do not coat or seal concrete, perform residential crack repair, or use polyurethane for leveling.
P.S.S: We do not offer Paver Repair or Pool Deck Washing and Sealing services.
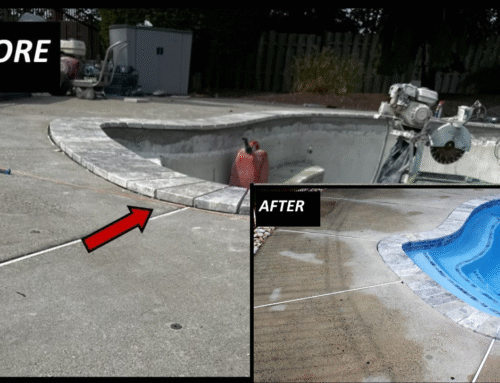
Identifying the Issue with Sunken Pool Pavers before Repair
Detecting the reason behind sunken pavers is crucial for successful repair. Begin by observing changes in alignment and uneven surfaces around your pool.
These inconsistencies could result from natural settling, water erosion, or improper installation. Understanding if these pavers have shifted slightly or noticeably will help determine the urgency of repair.
Evaluate the surrounding environment, checking for signs of moisture accumulation or poor drainage, which are common culprits in paver sinking. It’s also important to examine the integrity of the sand or gravel underlay, as erosion can lead to instability.
Using a level tool can further assist in pinpointing the areas needing attention. Once you have a comprehensive understanding of the problem’s scope, you’ll be empowered to seek appropriate solutions, whether professional or DIY.
Step-by-Step Guide to Repairing Sunken Pavers
Step 1: Remove the Affected Pavers
To begin repairing sunken pavers, carefully remove the affected sections without disturbing the surrounding areas. Utilize a paver puller or a flat-head screwdriver to lift each paver gently.
This approach minimizes the risk of breakage. Due to their accessibility and wide surface area, putty knives are recommended for larger surfaces. Keep the pavers intact, cleaning any debris or adhesive off their surfaces for easier reinstallation later.
As you pull up the pavers, lay them aside in an organized manner. Consider marking each paver’s position relative to the others, which will facilitate a more efficient and accurate relaying process.
Pay close attention to any patterns or shapes in the paver arrangement, too, as replicating these upon relaying is crucial for aesthetic consistency. With the surface open, you’ll be able to evaluate the condition of the base, revealing any underlying issues needing attention before proceeding. Use a trowel to prepare the ground for smoothing out any uneven bases.
Step 2: Address Underlying Problems
Once you’ve removed the pavers, it’s time to address any underlying issues that contributed to their sinking. Start by examining the base layer for signs of compaction loss or erosion. Ensure there is a slight slope to facilitate water runoff away from the surface.
If the ground is noticeably uneven, this likely indicates that the base was insufficiently compacted during the initial installation. In such cases, consider using a plate compactor to ensure a solid foundation. Next, check for drainage issues such as standing water or moist soil, which can lead to further settling and are major hazards.
Installing proper drainage solutions, like French drains, can help divert water away from the poolside area. If tree roots or utility lines are interfering and causing uneven settling, professional assessment may be needed to devise a safe solution.
By thoroughly addressing these foundational problems, you’ll set the stage for a stable repair, help prevent future sinking, maintain a smooth, safe surface around your pool, and ensure the thickness of your pavers is effectively managed for long-term durability.
Step 3: Level the Base and Bedding Layer
Before relaying the patio pavers, ensure the base is completely level and stable to maximize the longevity of your patio or walkway. Begin by spreading a layer of coarse gravel, compacting it thoroughly to achieve a firm foundation. Use a hand tamper or a plate compactor for maximum compaction, which is essential in preventing future sinking.
Once the gravel base is secure, add a bedding layer of sand, typically about an inch thick, to provide a uniform surface for the tiles or patio pavers. Use a straightedge or a leveling board to ensure the sand is evenly distributed and perfectly level across the section. This creates a smooth surface on which to lay the pavers, improving their stability and alignment.
Throughout this process, periodically check the gradient with a level tool to ensure that water drains away from the pool rather than pooling around the pavers. Careful attention to this step will significantly enhance the durability and appearance of your poolside pavers, ensuring they remain secure over time.
Step 4: Add Required Fill Materials
In this step, the focus is on using the right fill materials to establish a strong substrate for your pavers. Start by selecting high-quality sand, often referred to as “paver sand,” which acts as a leveling agent and supports the pavers structurally.
Spread this sand evenly over the compacted base, ensuring it fills every gap and corner. The correct thickness of the fill material is important to provide a stable foundation for your pavers.
If drainage issues were initially identified, consider augmenting the bedding with geotextile fabric. This fabric helps separate different material layers and enhances drainage efficiency by allowing water to pass through while stabilizing the soil beneath.
For added stability, you might also mix cement with the sand in areas requiring extra support, especially if erosion was a contributing factor. Also, regularly check and seal any small gaps that may appear to avoid future shifting.
Check the level of the fill materials periodically as you apply them, using a board and spirit level to maintain uniformity. This will ensure that your pavers rest on a stable, even surface, reducing the risk of future shifts.
Employing the right mix and method will provide the necessary support for your pavers, extending their longevity and maintaining the overall integrity of your pool deck.
Step 5: Re-lay and Align the Pavers
With the base adequately prepared, you can now proceed to re-lay the pavers. Start by placing each paver in its original spot to maintain the aesthetic consistency of your design. Gently set each paver into the sand bed, making sure it sits flush against its neighbors.
Use spacers to ensure consistent gaps between each paver, promoting even alignment across the entire surface. To enhance stability, consider pouring a small amount of concrete mix around the perimeter of the paved area.
After setting a few pavers, check their level with a spirit level. Adjust any that sit too high or low by either removing some sand or adding extra cushioning underneath as needed. A rubber mallet can be helpful in tapping pavers into place without risking damage. If necessary, use a scrap piece of wood as a protective barrier when using the mallet.
Periodically, stand back to assess the overall layout, ensuring straight lines and correct patterns are maintained. Making slight adjustments as you proceed can prevent future complications and provide a more uniform appearance.
Once satisfied with the arrangement, conduct a final check over the entire area to guarantee all pavers are properly aligned and secured. If you notice any issues in leveling, consider immediate brick paver repair to avoid the long-term problems.
Step 6: Secure with Polymeric Sand
Completing the repair requires securing the pavers with polymeric sand, which helps lock them in place while discouraging weed growth and insect infestation. Begin by spreading the sand evenly across the surface, using a push broom to sweep it into the joints between the pavers. Ensure all gaps are filled, as this will enhance the stability and durability of the entire setup.
After filling the joints, remove any excess sand from the surface. This is crucial to prevent staining or unwanted residue once the sand hardens. Lightly spray the area with water to activate the polymers in the sand, taking care not to oversaturate, which can wash the sand out of the joints.
Allow the sand to cure according to the manufacturer’s instructions, usually requiring a dry period of 24 hours. During this time, it’s important to keep the area undisturbed to ensure optimal binding. Once cured, your pavers will be securely set, enhancing the safety and aesthetic of your pool deck.
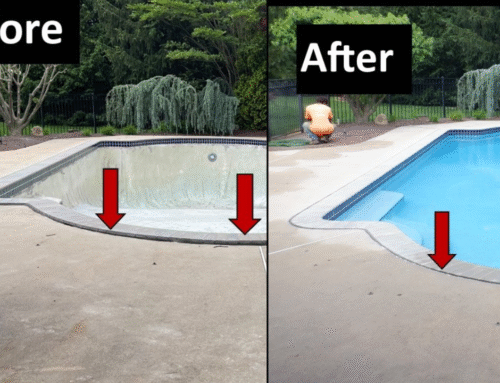
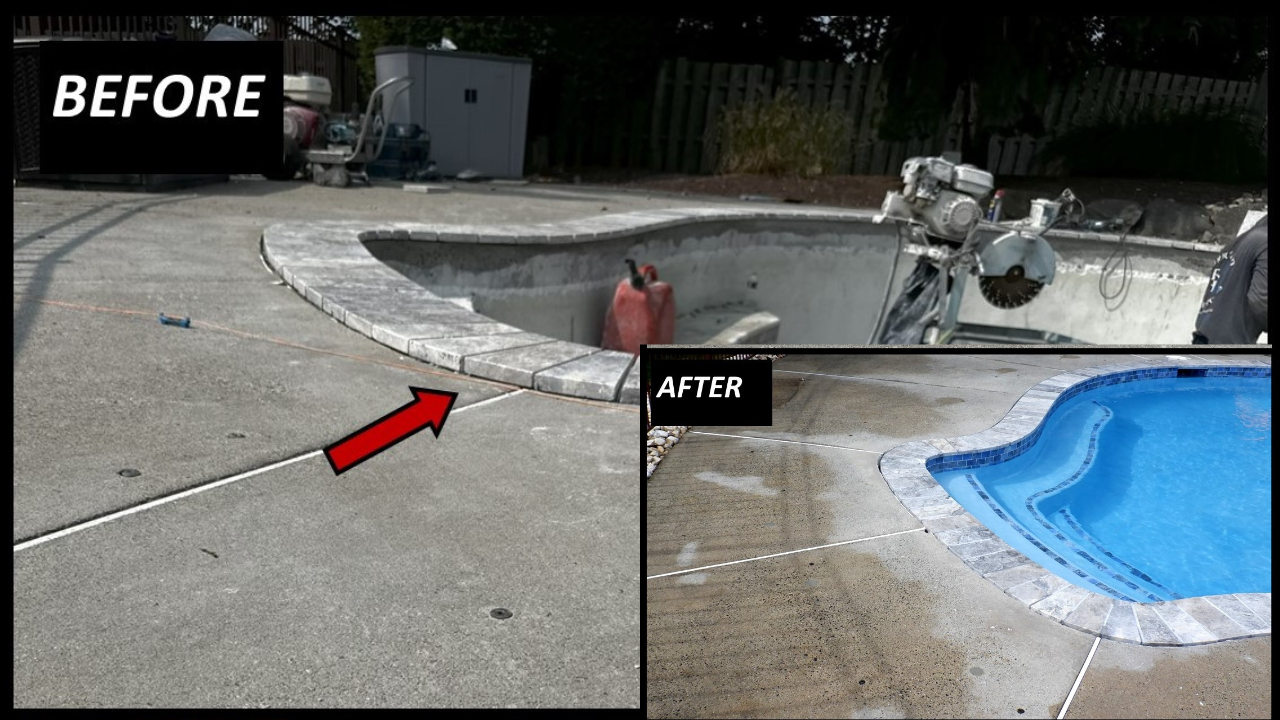
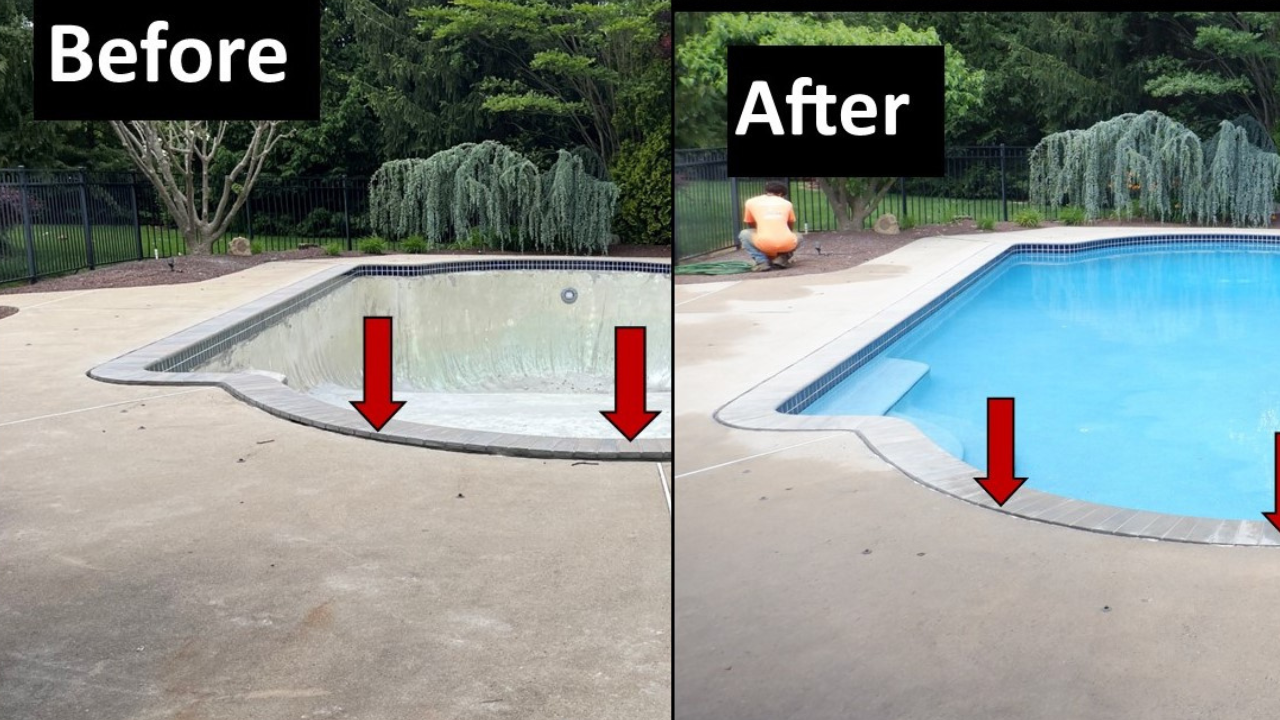
Hire Us for Your Professional Concrete Pool Deck Leveling Services in NJ
When it comes to ensuring your pool deck is level, safe, and visually appealing, nothing beats the expertise of professionals. Our team, based in New Jersey, brings years of experience and a commitment to excellence in concrete pool deck leveling. We leverage cutting-edge tools and proven methods to address any sinking issues, restoring both function and beauty to your outdoor space.
By choosing us, you’re opting for quality service tailored to meet your specific needs. We conduct a thorough assessment to identify underlying issues and execute a strategic plan that guarantees lasting results. With customer satisfaction as our top priority, we provide a seamless experience from consultation to completion.
Don’t let uneven pavers diminish your pool area’s charm or safety. Contact us for a consultation and see how our professional services can transform your outdoor environment with precision and care.
FAQs
Why do pool pavers sink over time?
Pool pavers often sink due to poor initial installation, where the base material might not have been adequately compacted. Water erosion can play a significant role as well, especially if drainage around the pool is inadequate, leading to shifting soil. Additionally, heavy foot traffic and environmental factors, like tree roots, can cause settling over time.
Can I fix sunken pavers by myself, or should I hire a professional?
You can fix sunken pavers yourself if you’re comfortable with DIY projects and have the necessary tools. However, hiring a professional is advisable for extensive repairs, ensuring long-term stability and proper drainage solutions. Professionals bring expertise and experience that can prevent future problems, saving you time and effort.
What type of sand is best for securing pavers?
Polymeric sand is the best choice for securing pavers. It contains fine grains of sand and special additives that bind together and harden when activated with water, providing a strong bond. This type of sand helps prevent weed growth and insect infestation while enhancing the stability of the paver joints.
How often should I inspect my poolside pavers?
It’s a good practice to inspect your poolside pavers at least once a year. Regularly checking for signs of shifting, cracking, or unevenness can help you address any issues before they become significant problems. After severe weather events, it’s also beneficial to conduct an additional inspection for potential damage.

- How to Prevent Expensive Pool Deck Repairs in NJ - June 1, 2026
- Pool Deck Repair Cost in NJ: Leveling vs Replacement - June 1, 2026
- Leveling Pool Decks & Patios in Ocean County Before Summer Starts - April 13, 2026